
E-Verify cases must be created no later than the third business day after the employee starts work for pay. E-Verify employer agents who learn that they inadvertently failed to create a case by the third business day after the employee started work for pay should bring themselves into compliance immediately by creating a case for the employee and indicating the reason that the case was not created within three days of the employee’s first day of employment. E-Verify provides a drop-down list of reasons for you to select or you can provide your own reason in the field provided.
Information used to create an E-Verify case comes from the employee’s completed Form I-9. E-Verify employer agents must obtain Forms I-9 from their clients before creating E-Verify cases on their behalf. Additional information on E-Verify and Form I-9 is available in the E-Verify User Manual.
To use E-Verify, you must first log in with your assigned user ID and password. Then, follow the steps outlined in How to Create a Case – Process Overview.
How to create a case – Process Overview
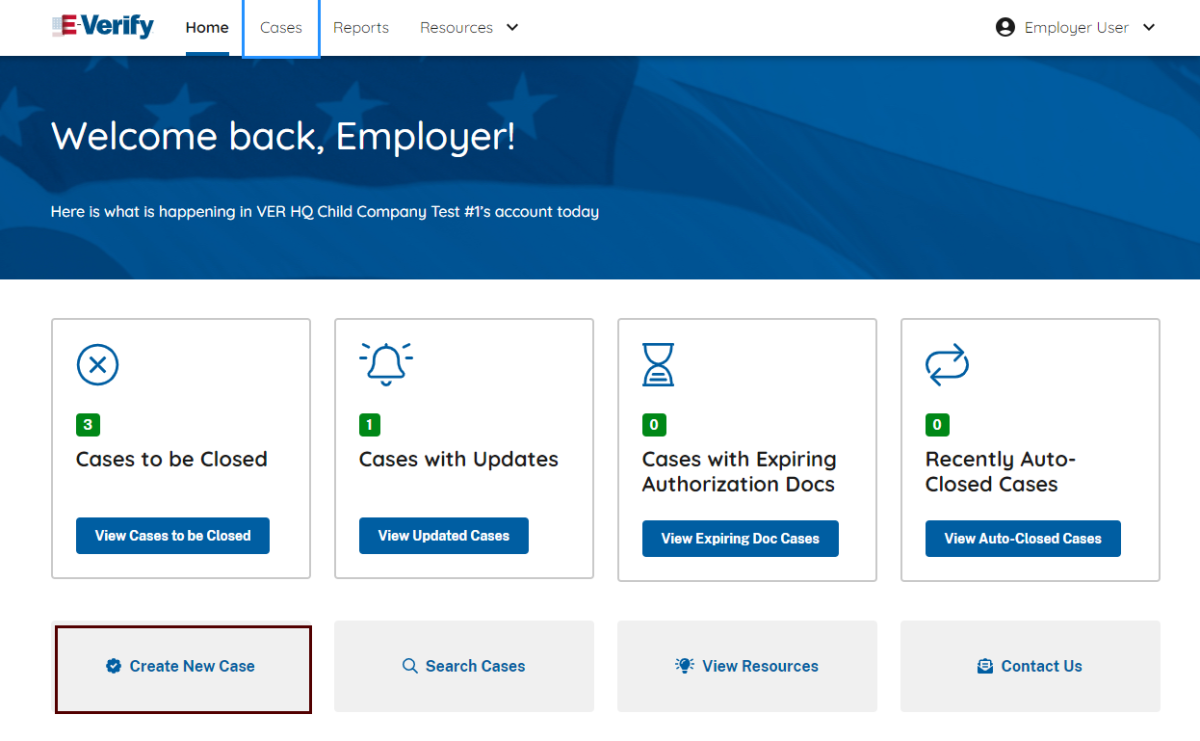
- From the E-Verify home page, click Cases and select Create New Case; or
- Click Create New Case from quick link below.
Employee Information and Attestation
- Enter the employee’s information from Section 1 of Form I-9. If you do not enter required information, E-Verify generates a field error message.
- If the employee provided an email address on Form I-9, you must enter it into E-Verify. E-Verify may send the employee email notifications with information about his or her E-Verify case. If the employee did not provide an email address on Form I-9, click the box next to No email address provided. Click Continue.
- The employee's phone number is an optional field for users. If the employee provided a telephone number on their Form I-9, enter that number.
- From Section 1 of the employee’s Form I-9, choose the appropriate option for Citizenship Status. Click Continue.
Employer or Authorized Representative Review and Verification
- Click List A Document or List B & C Document, using information provided in Section 2 of the employee’s Form I-9. Then select the document or combination of documents provided in Section 2. Click Continue.
Additional Case Details
- Type the employee’s first day of employment recorded in Section 2 of Form I-9 into the Employee’s First Day of Employment field. Alternatively, you may click Today, 1 Day Ago, or 2 Days Ago and the corresponding date automatically populates in the Employee’s First Day of Employment field. If you select Other, the system requires you to manually enter the employee’s first day of employment.
- If the case is being created 3 or more days past the employee’s first day of employment, you must provide a reason for the delay. Select a reason from the drop-down menu.
- Provide Visa Number when applicable.
- The Student and Exchange Visitor Information System (SEVIS) ID number is an optional field.
- Employee ID is an optional field for users who wish to assign an internal tracking code to a case. If desired, enter a unique identifier assigned to this case. Click Continue.
Review Case
- Users are prompted to review and confirm that the information entered is correct and may edit case details before submitting the case.
- Click Submit Case to confirm that the case information accurately reflects the information on the employee’s Form I-9.
IMPORTANT:
- If you need more time to verify the information is correct, you may click Save & Exit to exit the case. You can locate the case later under Cases. If you determine you no longer need to submit the case, you may click the Close Case link and the case will be closed without being submitted.
- By clicking Close Case, it will result in the case automatically closing without being submitted.