
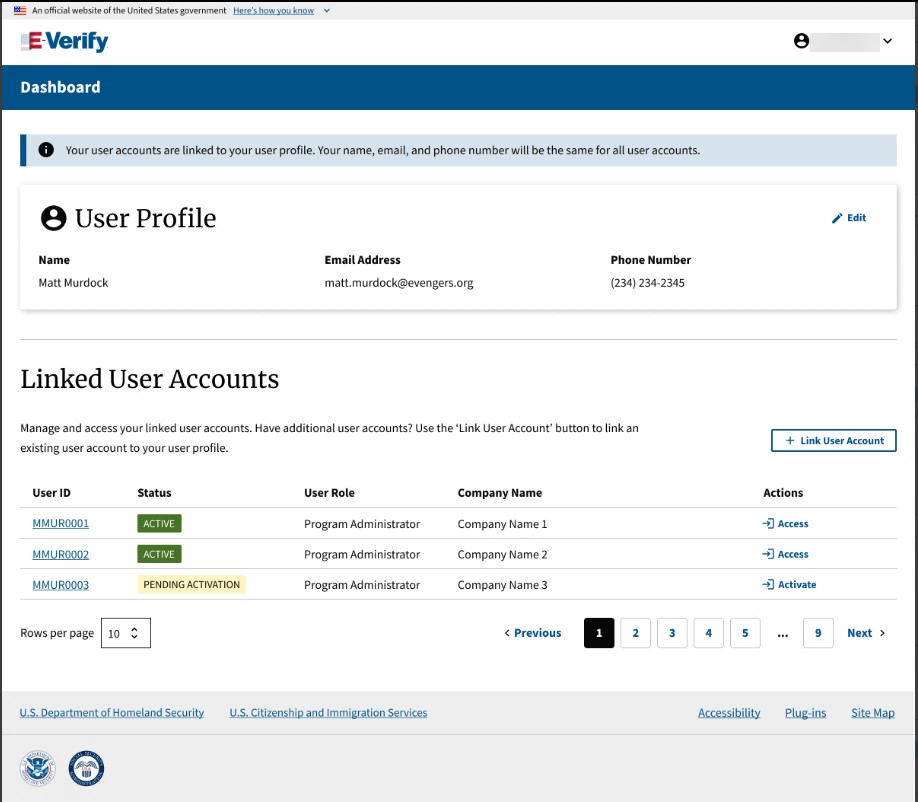
All E-Verify users need to be familiar with the website navigation links. Once users leave Login.gov to access E-Verify, they will see the E-Verify Dashboard.
Click the appropriate User ID.
The figure below provides a screen shot of the employer user webpage. The navigation links within each area vary depending upon the type of user. For more information on navigation links for E-Verify Employer Agents, refer to the Supplemental Guide for E-Verify Employer Agents.
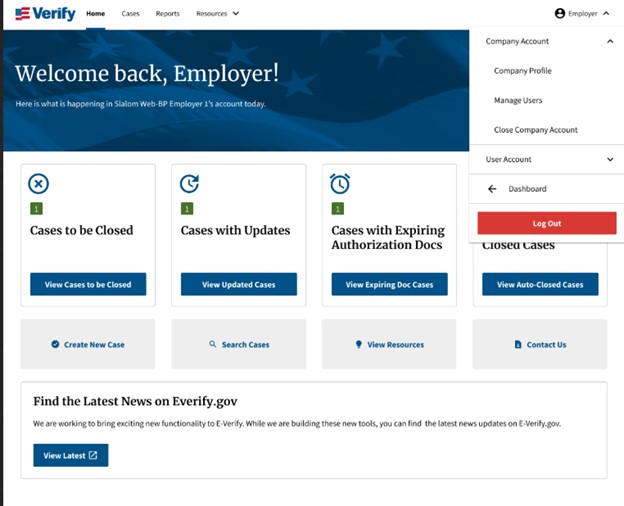
Each time you access a user account, you will see a welcome back banner with your name and company listed.
Under the welcome banner are case alert boxes with important information about your cases, including Cases to be Closed, Cases with Updates, Cases with Expiring Authorization Docs, and Recently Auto-Closed Cases.
Directly below the case alert boxes are convenient quick links in gray boxes, including Create New Case, Search Cases, View Resources, and Contact Us.
Below the quick links is the E-Verify News and Announcements.
E-Verify Menu Overview
| Menu Options | Function |
|---|---|
| Cases |
|
| Reports |
|
| Resources |
|
| Employer User [User Name] |
|